Looking for affordable ways to spruce up your home for the fall season? Look no further than budget-friendly pumpkin floral arrangements. These charming decorations combine the warmth of autumn with the beauty of flowers, creating a delightful centerpiece for any room. With a variety of options to choose from, you can easily find the perfect pumpkin floral arrangement to suit your style and budget. Whether you prefer traditional orange pumpkins or whimsical white ones, there’s something for everyone. So why wait? Get ready to transform your home into a cozy autumn oasis with these cost-effective and eye-catching decorations. Fall is a season full of warmth, coziness, and beautiful colors. One of the best ways to embrace the spirit of fall is by incorporating pumpkin floral arrangements into your home decor. These arrangements add a festive touch to any space, whether it’s your living room, dining table, or front porch. In this comprehensive article, we will guide you through the process of choosing the right materials, creating stunning pumpkin vases, making impressive pumpkin flower centerpieces, constructing a unique pumpkin floral wreath, designing charming pumpkin succulent gardens, crafting delightful pumpkin candle holders, decorating with pumpkins in unexpected ways, adding natural elements to pumpkin arrangements, considering seasonal color schemes, and finding budget-friendly supplies. Get ready to unleash your creativity and bring the beauty of fall into your home.
Choosing the Right Materials
Selecting Pumpkins
When it comes to selecting pumpkins for your floral arrangements, it’s important to choose the right size and shape. Look for pumpkins that are medium-sized and have a flat bottom, which will make it easier to create stable arrangements. Avoid pumpkins with soft spots or bruises, as they may not last as long. If you want to add variety to your arrangements, consider using different types of pumpkins, such as Cinderella pumpkins, mini pumpkins, or white pumpkins.
Choosing Fall Flowers
Fall is known for its stunning array of flowers in warm, rich colors. When selecting fall flowers for your arrangements, opt for blooms that are hardy and long-lasting. Flowers such as chrysanthemums, sunflowers, dahlias, and carnations are excellent choices. Don’t be afraid to mix different flower shapes, sizes, and textures to add depth and visual interest to your arrangements.
Considering Foliage Options
To complement your fall flowers and add texture to your pumpkin arrangements, consider incorporating various types of foliage. Look for foliage options that have distinctive colors or interesting shapes, such as eucalyptus, fall leaves, wheat, or branches with berries. These natural elements will add an extra touch of beauty and lend a seasonal feel to your arrangements.
Creating Simple Pumpkin Vases
Hollowing Out the Pumpkin
To turn a pumpkin into a vase, you’ll need to hollow it out first. Start by cutting off the top of the pumpkin and carefully removing the seeds and pulp using a spoon or scraper. It’s essential to remove as much of the flesh as possible to prevent any rotting or odors. Take your time and be patient during this step to ensure a clean and well-prepared pumpkin vase.
Protecting the Pumpkin
To prolong the lifespan of your pumpkin vase, you’ll want to protect it from decay. One effective way to do this is by applying a thin layer of petroleum jelly on the inside and outside of the pumpkin. This will help seal the moisture in and prevent the pumpkin from drying out too quickly. Additionally, placing the pumpkin vase in a cool and dry location will also help maintain its freshness for a longer period.
Inserting Water Tubes
To ensure that your flowers stay hydrated and fresh, consider using water tubes. These small, plastic tubes with caps can be inserted directly into the pumpkin, providing a water source for the flowers. Fill the tubes with water, add flower food if desired, and then insert the stems of your chosen flowers into the tubes. This simple trick will help your pumpkin floral arrangements last longer and stay looking beautiful.
Adding Floral Foam
For added stability and ease of arranging, consider using floral foam in your pumpkin vases. Soak the foam in water until it is fully saturated, then cut it to fit the inside of your pumpkin. Place the soaked foam in the hollowed-out pumpkin, ensuring its stability by pressing it firmly against the pumpkin’s walls. The floral foam will not only hold your flowers securely in place but also provide much-needed water for them to thrive.
Arranging Fall Flowers
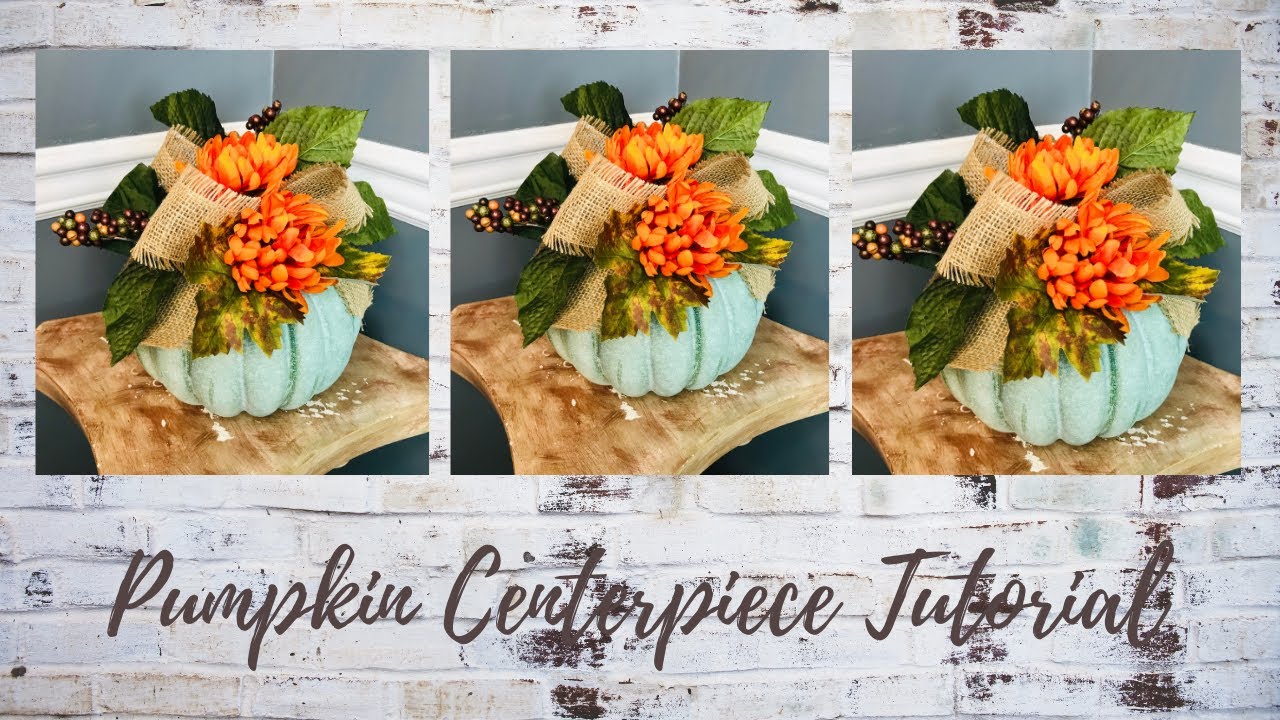
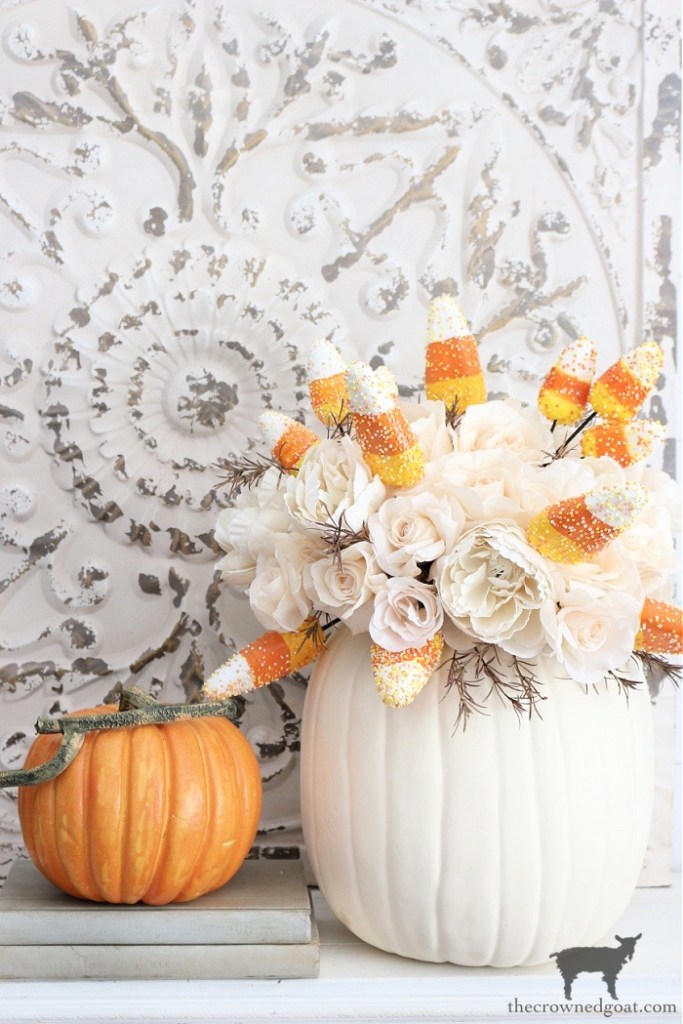
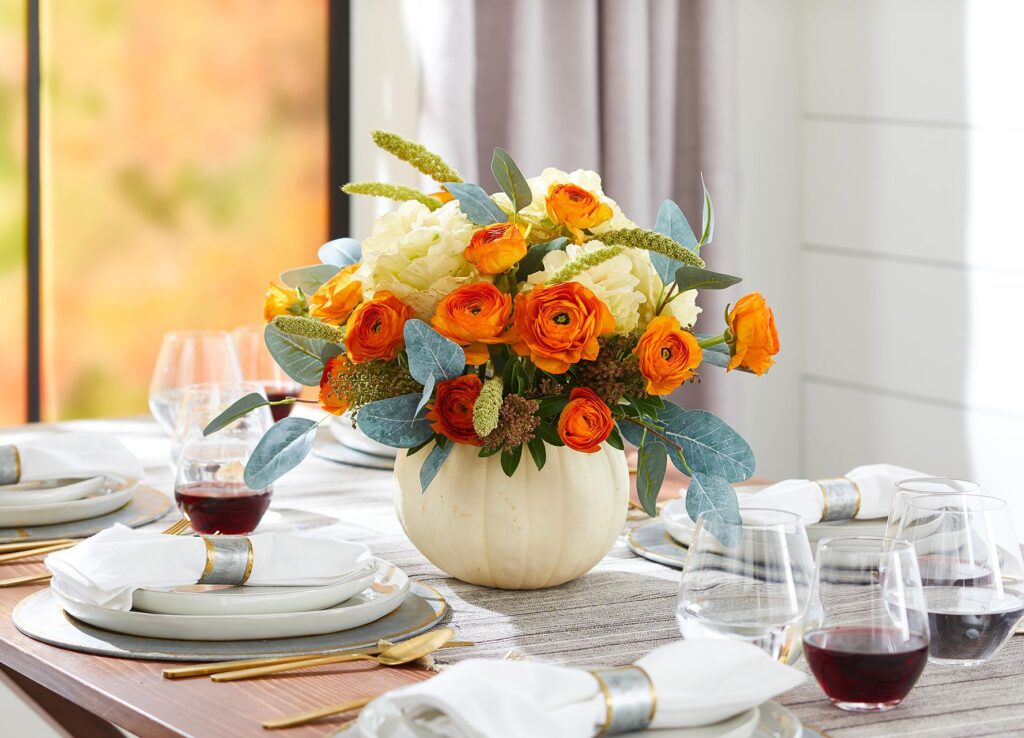
Now comes the fun part – arranging your fall flowers in the pumpkin vase. Start by trimming the flower stems at an angle to allow for better water absorption. Begin layering the flowers, starting with the larger blooms at the center and working outwards with smaller flowers and foliage. Play with different heights and textures to achieve a balanced and visually appealing arrangement. Step back frequently and look at your arrangement from different angles to make adjustments as necessary. Let your creativity shine as you bring your pumpkin vase to life with a beautiful assortment of fall flowers.
This image is property of i0.wp.com.
Making Pumpkin Flower Centerpieces
Gathering Multiple Pumpkins
To create a stunning pumpkin flower centerpiece, gather a variety of pumpkins in different shapes and sizes. The key is to have pumpkins that vary in height to create a visually interesting display. Look for a mix of medium-sized pumpkins, small pumpkins, and even some miniature pumpkins to add variety and dimension to your centerpiece.
Creating Height Variation
To achieve a visually pleasing pumpkin flower centerpiece, it’s essential to create height variation. Place some pumpkins directly on the table or surface, and elevate others by using candle holders or cake stands. This will add dimension and visual interest to your centerpiece, making it more eye-catching.
Arranging a Mix of Flowers and Greenery
When it comes to the floral aspect of your pumpkin centerpiece, follow a similar approach as creating pumpkin vases. Choose a mix of fall flowers and foliage that complement each other and align with your desired color scheme. Vary the height of the flowers and greenery to create depth in your arrangement. Remember to cut the stems at an angle and insert them into water tubes or floral foam to ensure their longevity.
Choosing a Color Scheme
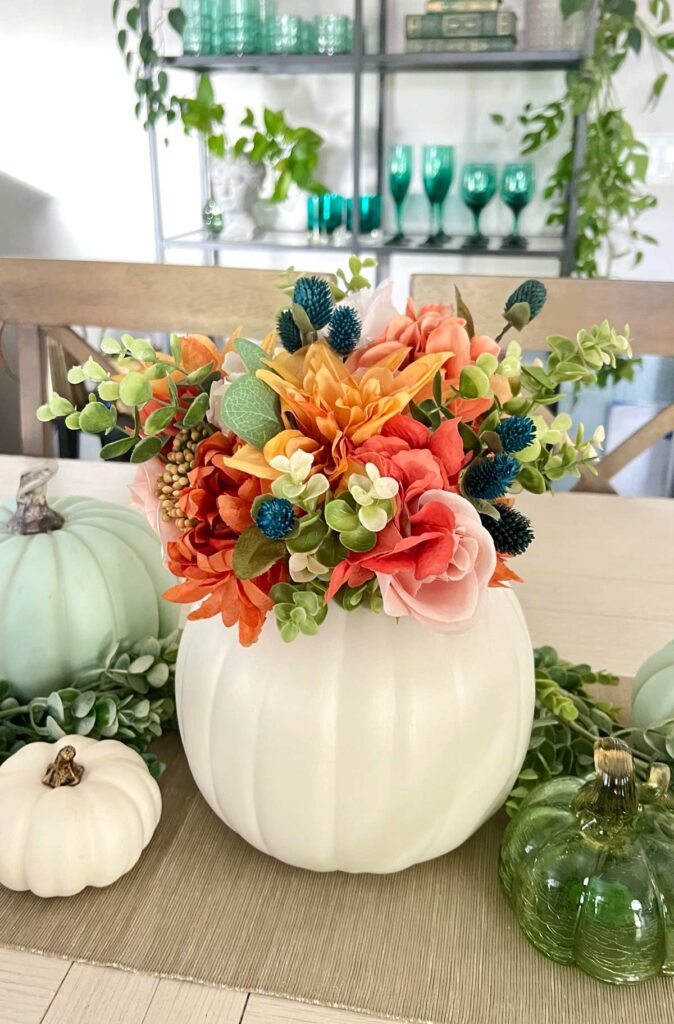
Selecting a color scheme for your pumpkin flower centerpiece will help create a cohesive and harmonious look. Consider the existing color palette in your home or the space where the centerpiece will be displayed. Traditional fall colors like deep oranges, yellows, reds, and browns are always a safe bet. However, don’t be afraid to experiment with unexpected combinations or opt for a more neutral or pastel color scheme for a unique twist on fall decor.
Constructing a Pumpkin Floral Wreath
Selecting a Wreath Base
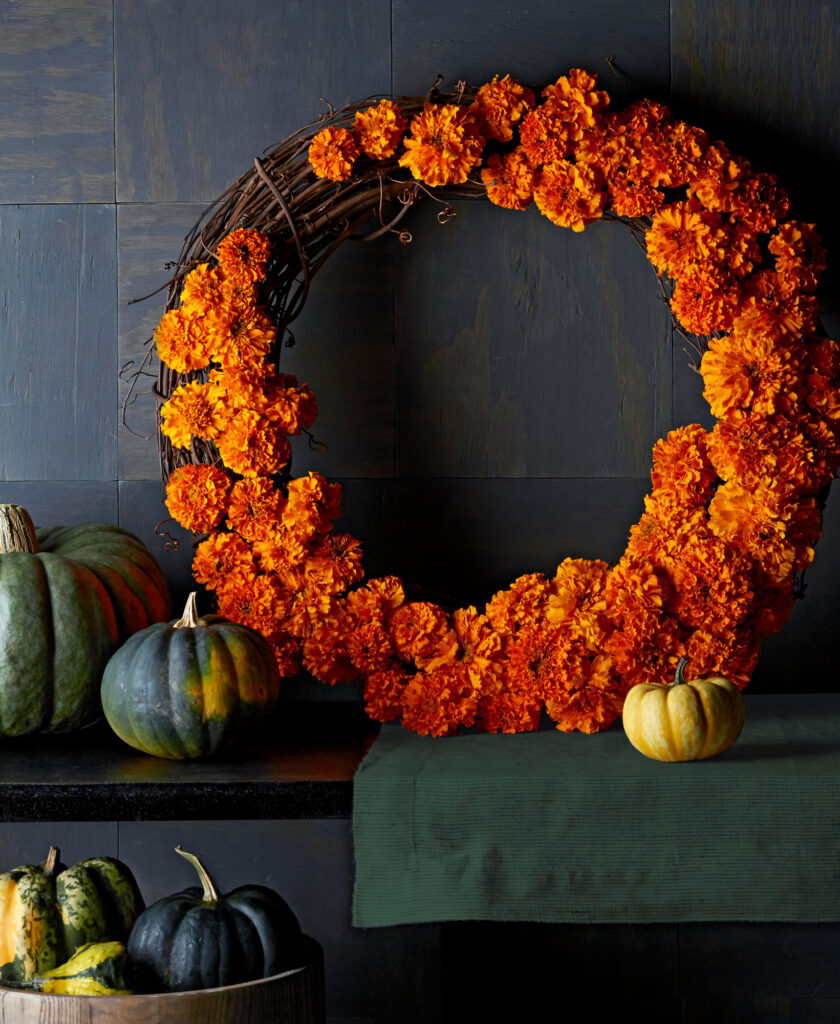
To create a pumpkin floral wreath, start by selecting a wreath base. Choose a base made of natural materials, such as grapevine or rattan, as this will provide a rustic look that complements the fall theme. Ensure that the size of the wreath base fits the space where you plan to hang it.
Attaching Miniature Pumpkins
To add a touch of autumn charm to your floral wreath, attach miniature pumpkins. Using small, green florist wire, secure the pumpkins to the grapevine or rattan base. Space them evenly around the wreath, and make sure they are firmly attached to prevent them from falling off.
Adding Fall Florals
After attaching the miniature pumpkins, it’s time to add fall florals to your wreath. Start by selecting flowers that are smaller in size, such as mini carnations, spray roses, or hypericum berries. Cut the flower stems to a manageable length and use floral wire or hot glue to secure them to the wreath base. Fill in any gaps with foliage, such as eucalyptus or fall leaves, to create a lush and vibrant wreath.
Enhancing with Ribbons or Bows
To complete your pumpkin floral wreath, consider enhancing it with ribbons or bows. Choose ribbons in fall colors, patterns, or textures that complement the flowers and pumpkins. Attach the ribbons or bows to the wreath using floral wire or hot glue, and position them at the bottom or top of the wreath for an added decorative touch.
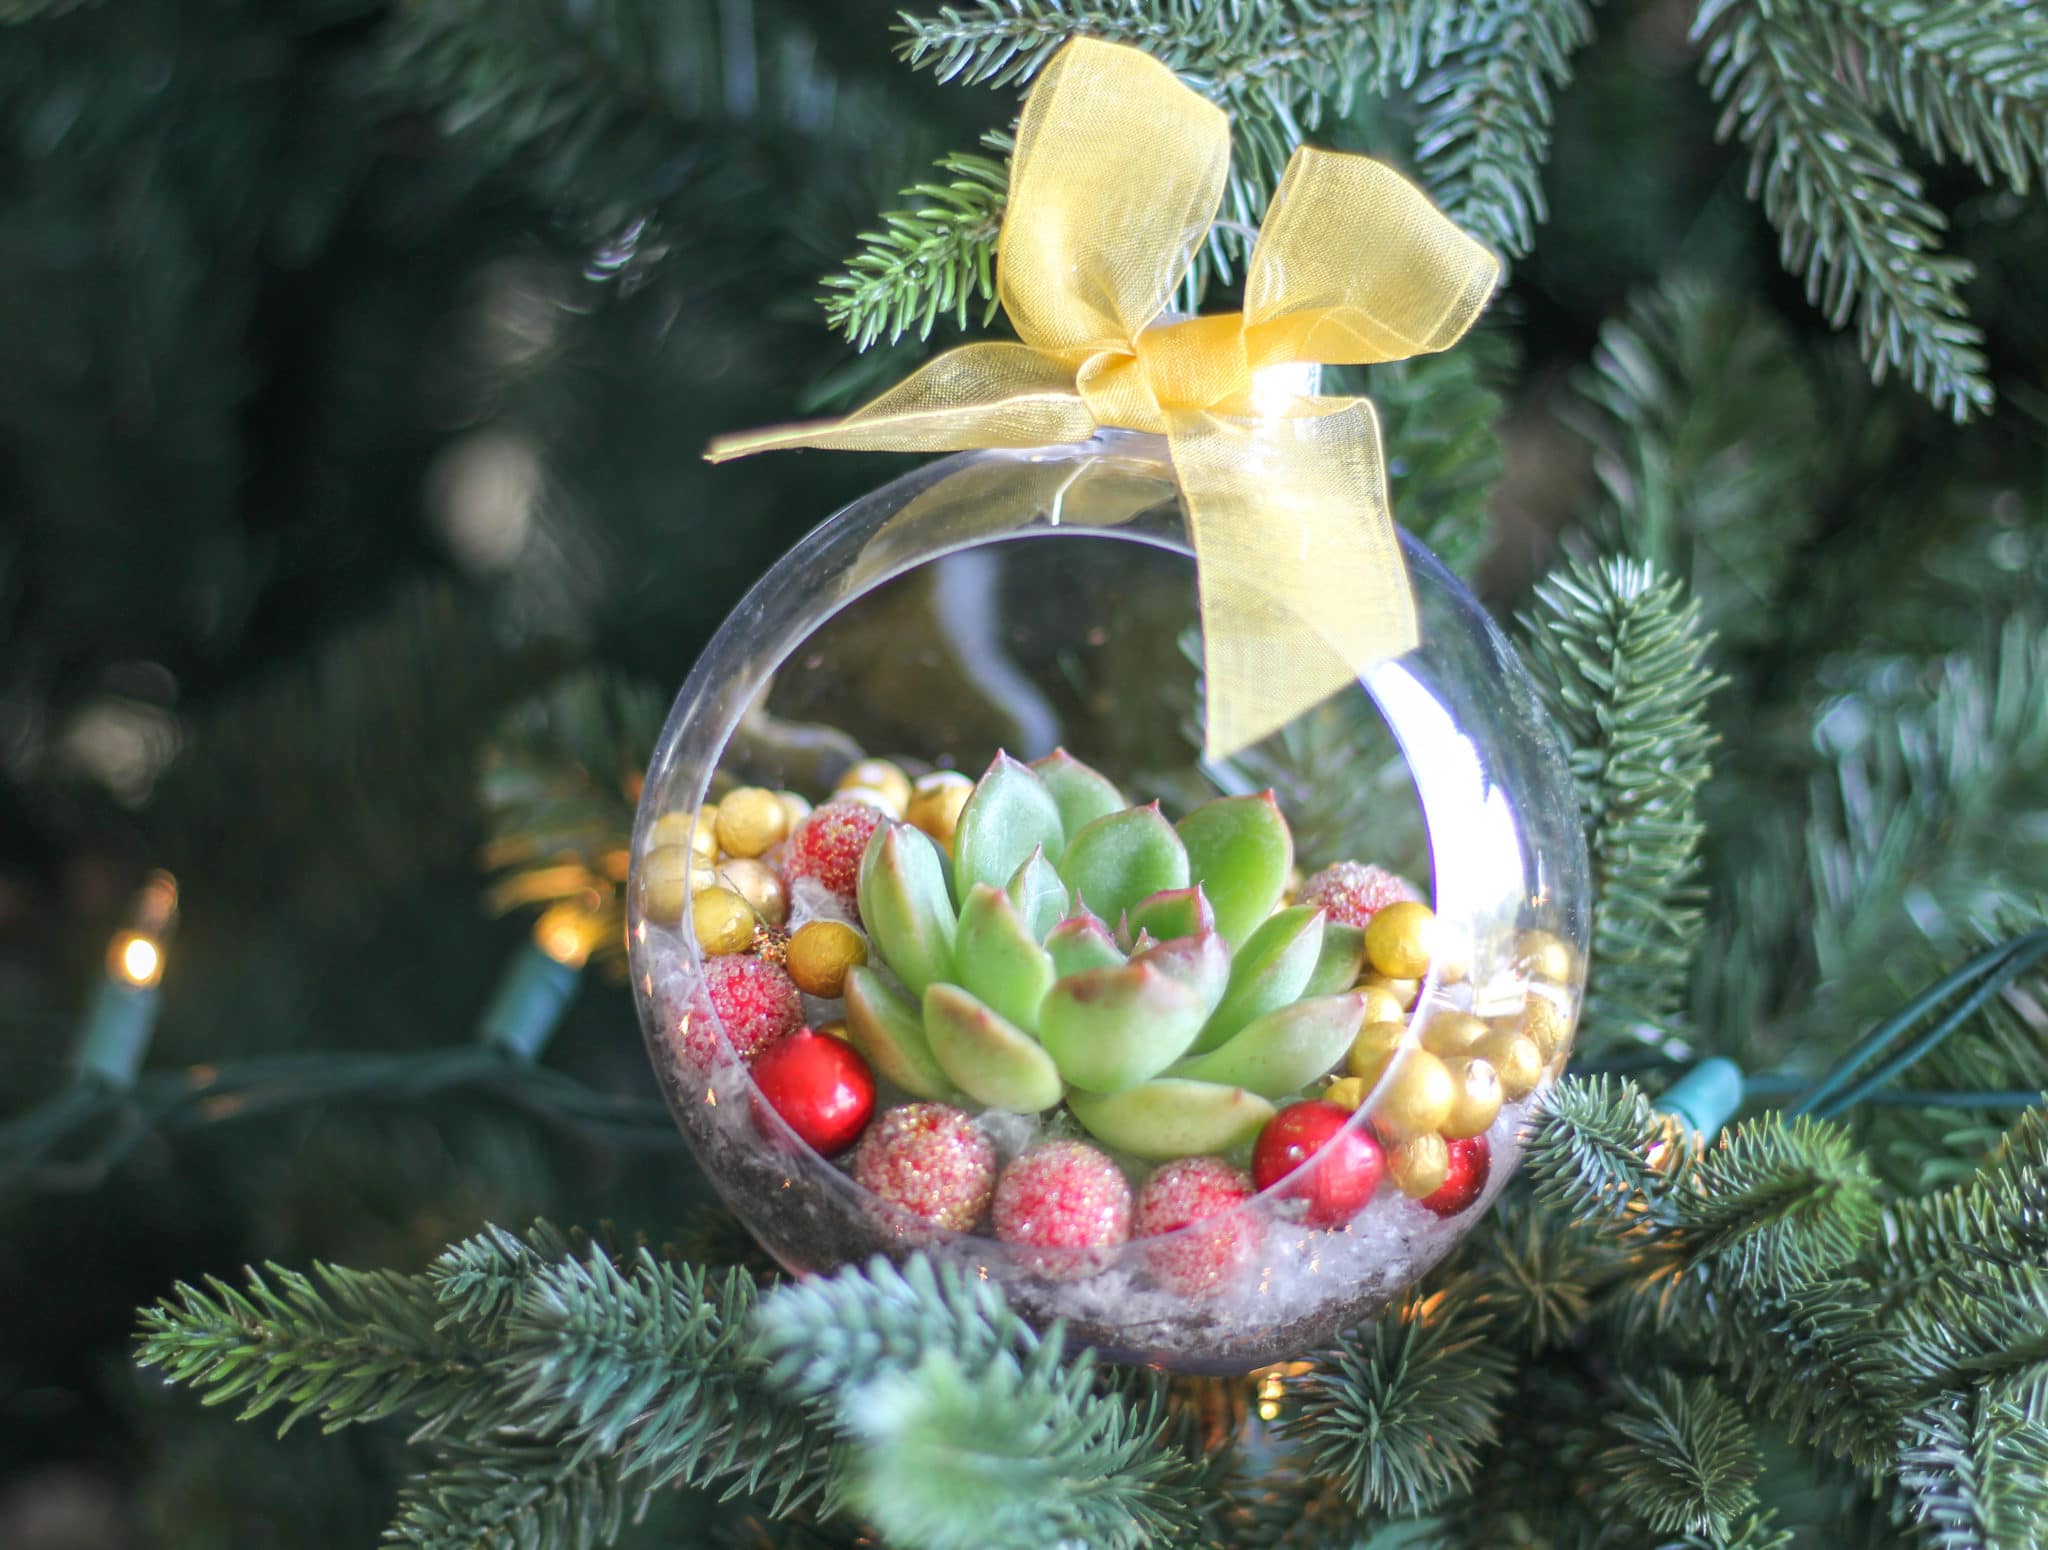
This image is property of weekendcraft.com.
Designing Pumpkin Succulent Gardens
Preparing Pumpkins as Planters
To create unique and eye-catching pumpkin succulent gardens, start by preparing the pumpkins as planters. Cut off the top of the pumpkin, similar to carving a pumpkin for Halloween, but make sure to leave a wider opening. Scoop out the seeds and pulp, creating enough space for the succulents’ roots to fit comfortably. If necessary, use a small knife or spoon to hollow out the pumpkin further, making adjustments as needed.
Choosing Succulent Varieties
When selecting succulents for your pumpkin gardens, opt for a variety of shapes, sizes, and colors. Consider using Echeveria, Sedum, Haworthia, or Aloe Vera for their diverse and visually appealing characteristics. Mix and match different succulent varieties to create an interesting and dynamic arrangement within each pumpkin planter.
Arranging Succulents in Pumpkins
Once you have selected your succulents, it’s time to arrange them in the prepared pumpkin planters. Start by adding a layer of well-draining soil or cactus potting mix to the bottom of the pumpkin. Carefully insert the succulent roots into the soil, ensuring that they are secure and upright. Continue adding soil or potting mix around the succulents, gently pressing it down to create a stable planting environment. Be mindful not to overwater, as succulents prefer drier conditions.
Caring for Pumpkin Succulent Gardens
To ensure the longevity and health of your pumpkin succulent gardens, it’s important to provide proper care. Place the planters in a location that receives bright, indirect sunlight, as direct sunlight can scorch the succulents. Water the plants sparingly, allowing the soil to dry out between waterings. Overwatering can lead to root rot and other issues, so it’s best to err on the side of underwatering with succulents. With the right care, your pumpkin succulent gardens will thrive and make a unique statement in your fall decor.
DIY Pumpkin Candle Holders
Carving Out the Top
To create enchanting pumpkin candle holders, start by carving out the top of the pumpkin. Decide on the size and shape of the opening based on the size of the candle you plan to use. Cut a hole in the top of the pumpkin, ensuring that it is wide enough to comfortably fit the candle. If necessary, carve a small groove around the opening to hold the candle securely in place.
Creating Stable Bases
To prevent the pumpkin candle holders from tipping over or rolling, it’s important to create stable bases. Start by trimming a small slice off the bottom of the pumpkin to create a flat surface. If needed, further stabilize the pumpkin by cutting out small notches or placing a layer of adhesive putty or nonslip liner underneath. This will ensure that your candle holders remain steady and safe to use.
Placing Candles Safely
When it’s time to place the candles in the pumpkin holders, prioritize safety. Opt for LED or battery-operated candles instead of traditional wax candles. These flameless alternatives offer a cozy glow without the risk of fire or melting the pumpkin. Ensure that the candles fit securely in the carved openings and are positioned upright. Test the candles beforehand to ensure they are in working order and won’t cause any mishaps.
Enhancing with Seasonal Accents
To add an extra touch of whimsy and charm to your pumpkin candle holders, consider enhancing them with seasonal accents. Wrap some fall foliage or vines around the base of the candle holders, securing them with florist wire or hot glue. You can also incorporate other fall elements such as pinecones, acorns, or dried leaves to create a cohesive and nature-inspired look. Let your imagination run wild and create candle holders that are uniquely yours.
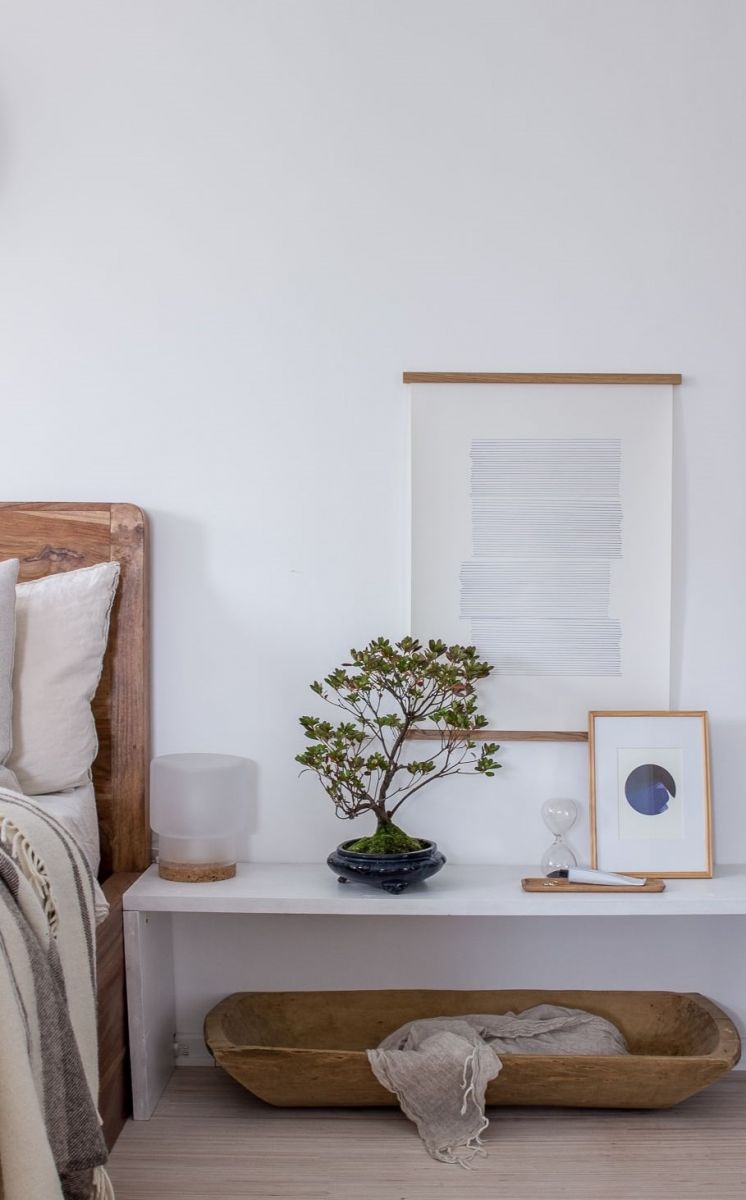
This image is property of www.bhg.com.
Decorating with Pumpkins in Unexpected Ways
Stacking Pumpkins for a Vertical Display
Instead of simply placing pumpkins side by side, consider stacking them to create a vertical display. Start with a large pumpkin at the bottom and gradually stack smaller pumpkins on top. Secure each layer with a wooden dowel or long metal skewer inserted through the center of the stack. This unique and visually striking display will add height and drama to any fall decor arrangement.
Transforming Pumpkins into Vases
Take your pumpkin decor to the next level by transforming them into vases. Hollow out a medium-sized pumpkin, following the steps mentioned earlier, and place a vase or glass jar inside. Fill the vase with water and arrange your desired flowers or foliage within it. This unconventional use of pumpkins as vases will surely catch the eye and make for a stunning centerpiece or accent piece.
Painting and Stenciling Pumpkins
If you’re looking to add a personal touch to your pumpkin decor, consider painting or stenciling them. Start by cleaning the surface of the pumpkin, ensuring it is free of dirt and debris. Use acrylic paint in the colors of your choice to paint the pumpkins, or use stencils to create specific designs or patterns. Get creative and experiment with different techniques, such as ombre, polka dots, or even freehand painting. The possibilities are endless, and the result will be a unique and personalized pumpkin decoration.
Using Pumpkins as Table Number Holders
If you’re hosting a fall-themed event or gathering, consider using pumpkins as table number holders. Choose small pumpkins that can sit securely on a table without rolling. With a sharp knife, cut a small slit or hole in the top of the pumpkin, large enough to hold a numbered card. Insert the numbered cards into the pumpkins, and place them on each table to guide your guests to their seats. This creative and festive touch will delight your guests and add a touch of autumn charm to your event.
Adding Natural Elements to Pumpkin Arrangements
Incorporating Pinecones and Acorns
To enhance the natural beauty and warmth of your pumpkin arrangements, consider incorporating pinecones and acorns. Gather pinecones in various sizes and shapes, as well as acorns, and scatter them throughout your arrangements. Position them strategically next to flowers or near the base of pumpkin vases to create an organic and textured look. For added visual interest, you can also paint the pinecones or acorns in fall colors before incorporating them into your arrangements.
Including Autumn Leaves
Autumn leaves are an iconic symbol of the fall season, and they can add a touch of elegance to your pumpkin arrangements. Choose leaves in vibrant shades of red, orange, and yellow, and gently place them around the base of your pumpkin vases or centerpiece. You can also insert small twigs with leaves into the pumpkin foam to create an earthy and natural backdrop for your flowers. The inclusion of autumn leaves will elevate your arrangements and perfectly capture the essence of the season.
Integrating Berries and Twigs
Berries and twigs bring texture and visual interest to fall floral arrangements. Look for branches with berries, such as hypericum berries or rose hips, and insert them alongside fall flowers. The small pops of red, orange, or purple will add depth and a natural element to your pumpkin arrangements. Twigs can also be used to create a rustic touch by bundling them together with twine or ribbon and placing them vertically within the arrangement.
Enhancing with Dried Wheat or Corn
For a rustic and harvest-inspired feel, consider adding dried wheat or corn to your pumpkin arrangements. Bundle a handful of dried wheat stems and tie them together with twine or a fall-colored ribbon. Insert the wheat bundle into the floral foam or arrange it around the base of the pumpkin vase. Dried corn husks can also be used for a similar effect by tucking them between pumpkins or weaving them around your arrangements. These natural elements add texture and a touch of the countryside to your fall floral decor.
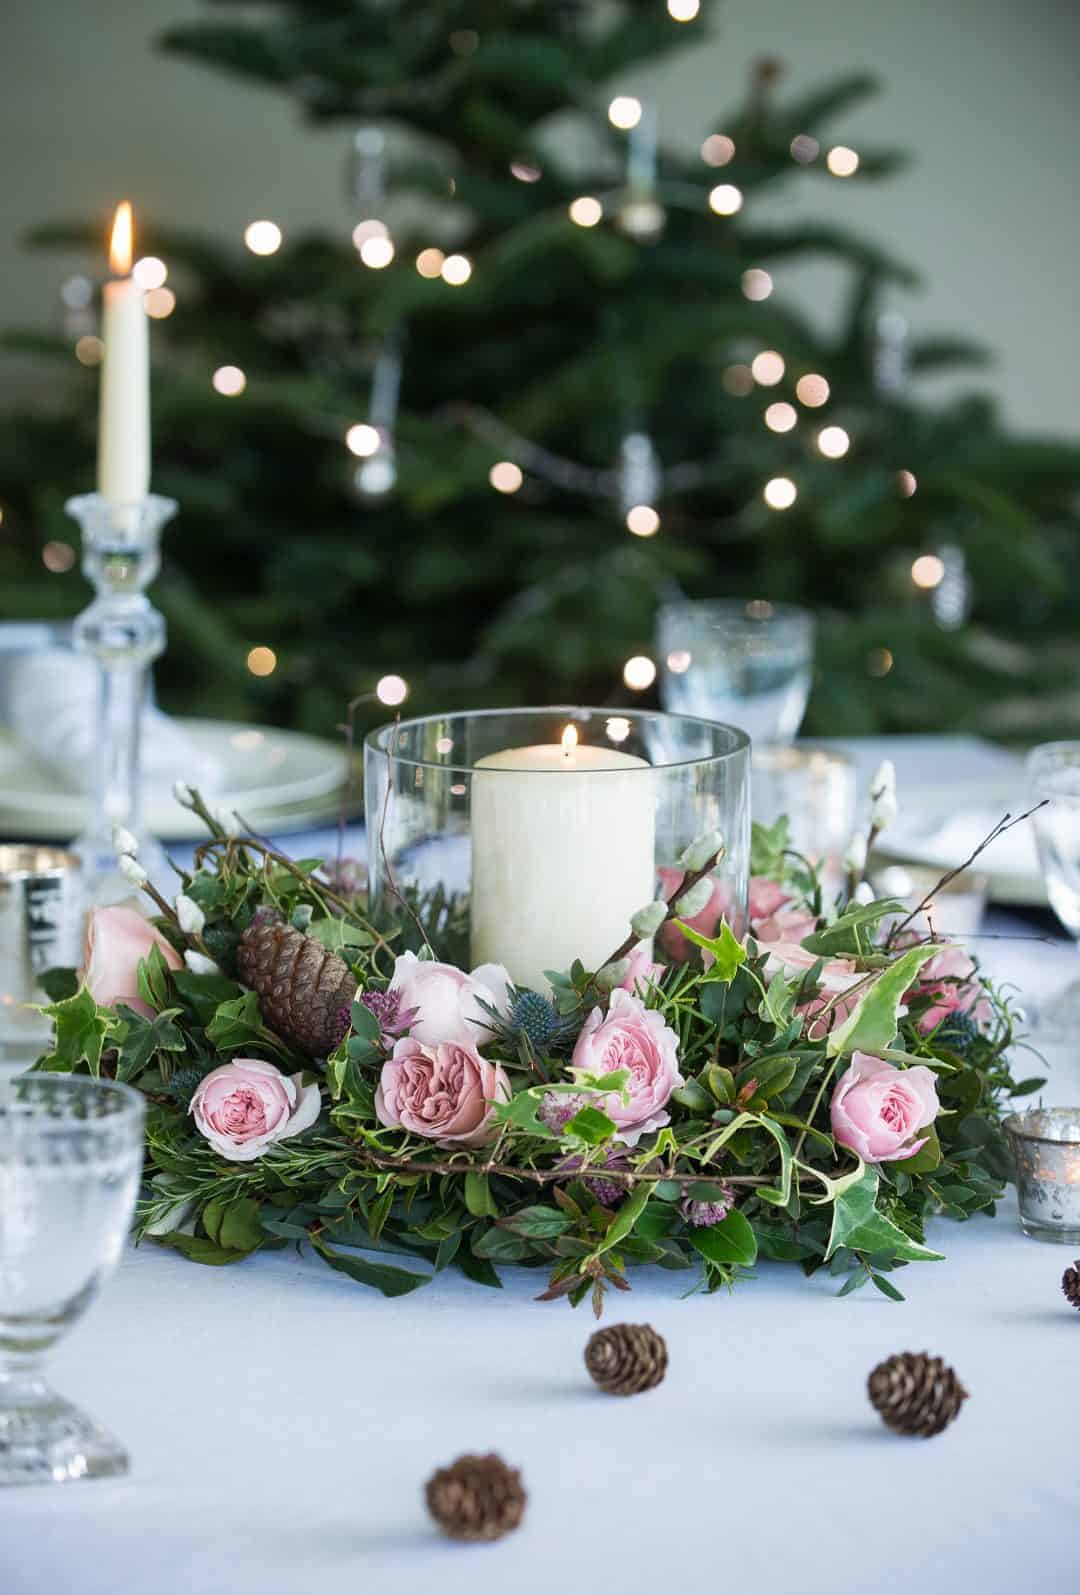
This image is property of static.onecms.io.
Considering Seasonal Color Schemes
Traditional Fall Colors
Traditional fall colors are always a safe and timeless choice. These include warm hues of orange, yellow, red, and brown. By using flowers, foliage, and pumpkins in these colors, you can achieve a classic fall look that will never go out of style. Combine different shades of these colors to create depth and visual interest in your floral arrangements.
Neutral and Earthy Tones
For a more subdued and natural look, consider using neutral and earthy tones in your pumpkin floral arrangements. Colors such as beige, tan, brown, and grey can create a calming and rustic ambiance. Combine flowers and foliage in these colors with white pumpkins or gourds to achieve an elegant and understated fall decor. This color scheme works well in minimalist or Scandinavian-inspired interior styles.
Pastel and Soft Autumn Hues
If you prefer a softer and more delicate color palette, pastel and soft autumn hues are a perfect choice. Opt for flowers in shades of light pink, peach, lavender, or soft yellow. Combine these with light green foliage and white pumpkins for a romantic and dreamy fall look. This color scheme is excellent for creating a warm and inviting atmosphere, especially in spaces where a softer aesthetic is desired.
Bold and Vibrant Combinations
For those who want to make a statement and embrace the vibrant side of fall, bold and vibrant color combinations are the way to go. Mix flowers and foliage in complementary colors, such as purple and orange or red and green. Add pops of contrasting hues to create a lively and energetic look. This color scheme is perfect for those who love to experiment and aren’t afraid to showcase their colorful personality.
Finding Budget-Friendly Supplies
Shopping at Local Farmers Markets
One of the best ways to find affordable and high-quality supplies for your pumpkin floral arrangements is by shopping at local farmers markets. Farmers markets often offer a wide variety of pumpkins, flowers, and foliage at reasonable prices. Supporting local farmers not only helps the community but also ensures that you’re getting fresh and seasonal products.
Using Dollar Store Finds
If you’re on a tight budget, consider shopping at dollar stores for some of your supplies. Dollar stores often carry a selection of artificial flowers, foliage, candles, and other decorative items that can be used in your pumpkin arrangements. While these items may not be as high quality as those found at specialty stores, with a little creativity and imagination, they can still be used to create beautiful and budget-friendly fall decor.
Seeking Clearance Sales
Another budget-friendly option is to keep an eye out for clearance sales at craft stores, home decor stores, or garden centers. Towards the end of the fall season or after Halloween, many stores discount their seasonal items to make room for new inventory. Take advantage of these sales to score great deals on pumpkins, flowers, foliage, and other decorative elements for your arrangements.
Utilizing Natural Elements from Outdoors
Don’t overlook the beauty and versatility of natural elements that can be found outdoors. Take a stroll in your neighborhood, local park, or even your own backyard to gather pinecones, acorns, twigs, or autumn leaves. These natural elements can be incorporated into your pumpkin floral arrangements and add a touch of authenticity and organic beauty to your fall decor. Plus, they won’t cost you a dime!
By following these tips and exploring different techniques, you can create stunning and budget-friendly pumpkin floral arrangements that will impress your guests and fill your home with the spirit of fall. So, channel your inner creativity, gather your materials, and let the beauty of pumpkins and fall flowers transform your space into a cozy and inviting autumn oasis. Happy decorating!
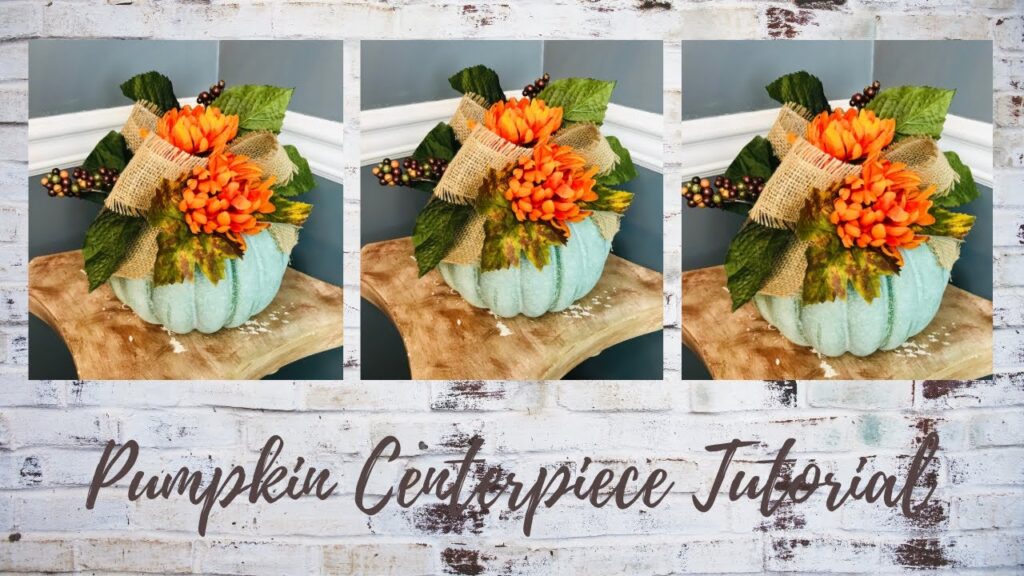
This image is property of i.ytimg.com.

